

The Canvas Element

The HTML Canvas element is a 2-dimensional grid on which 2D images, graphics, and text can be manipulated dynamically. To do this, a scripting language must be used. The most commonly used language is javascript.
In this article, we would be looking at some basic HTML canvas methods and how they are used.
Grids
A grid is any structure made up of intersecting lines which is used to give structure to content. Grids have proven to be useful in various fields of study.
The most commonly recognized grid system would probably be the graph sheet. It is used in Mathematics and the Sciences. It makes the visual representation of statistical data easier
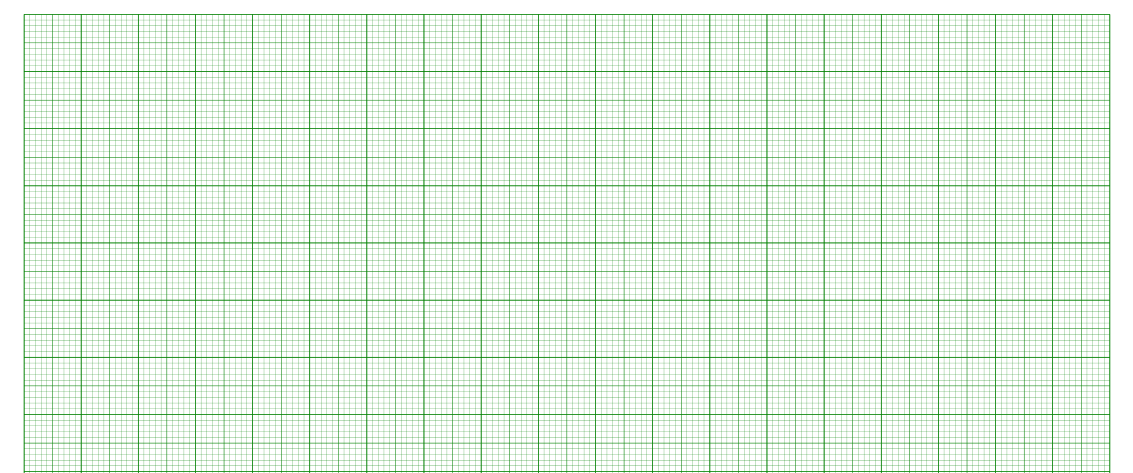 Photo by László Németh - wikimedia
Beyond science and mathematics, grids are used in art. They make drawing to scale easier.
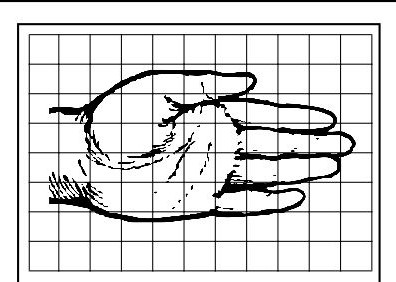 Grid drawing worksheet by www.free-for-kids.com
Grids can also be used to visualize otherwise complex concepts like space, time and gravity.
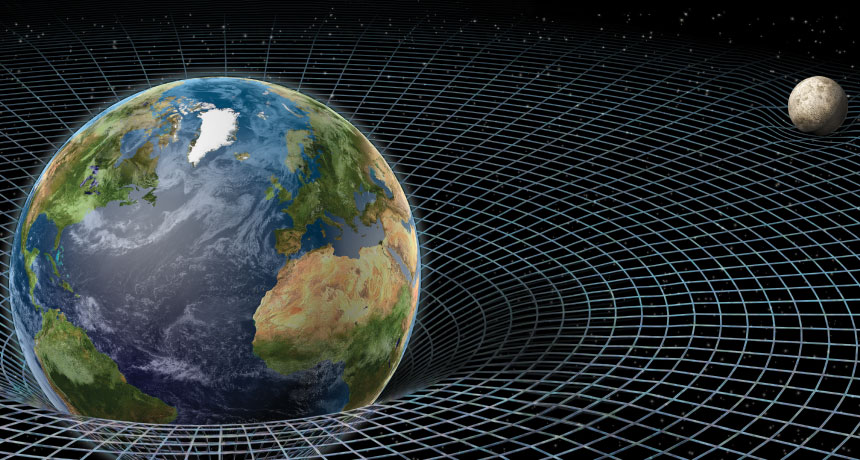 Illustration by Nicolle Rager Fuller
Okay, I took things too far. Forget I mentioned space and time.
The Canvas Element
As stated earlier, the HTML Canvas can be seen as a 2-dimentional grid, similar to the graph sheet. The unit of the dimensions of the canvas(grid) is the pixel. A pixel is a small section, similar to the boxes that are formed in the intersecting lines of a graph. It is the smallest unit of an image or digital graphics.
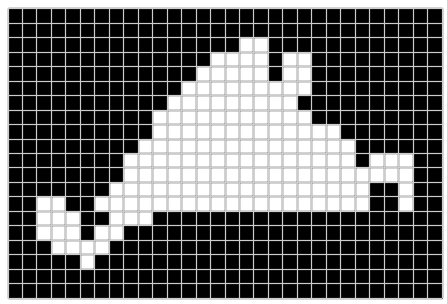 Steve Eddins - Shape of Pixel
To represents points on the canvas, a coordinate system is used. I would be using the terms x and y, for horizontal and vertical pixel distances respectively, similar to that used in graphs. The x value increases from left to right, while the y value increases from top to bottom. The top left corner would be coordinates (0,0) meaning 0 pixels from the top, 0 pixels from the left.
Adding a canvas to a HTML page is done by simply adding the canvas tag, just like every other HTML element. By default, the canvas does not have a border. This can be added via CSS. It is also best practice to give a canvas element the "id" attribute. This would make it accessible to JavaScript via its "id".
The HTML snippet to create a Canvas instance on the web page could look like this:
<canvas id="myCanvas" width="1000" height="500" style="border:1px solid black;">
The above snippet would generate a canvas 1000pixels wide and 500pixels high with a black border 1 pixel thick. Like this:
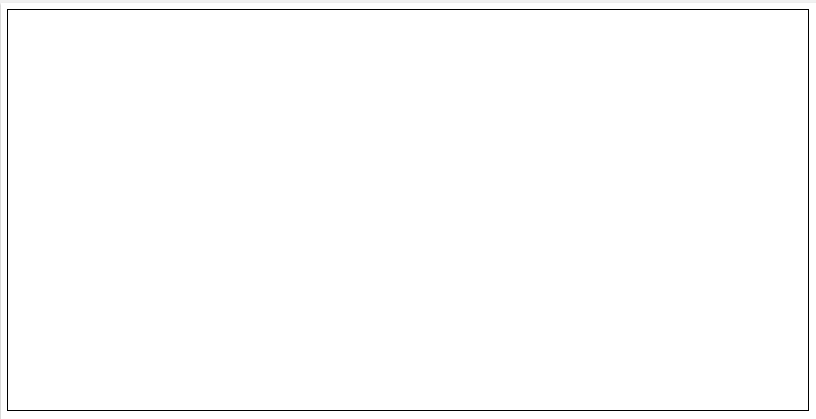
The image above on first glance is not any different from a div element with the same properties, but the power of the HTML canvas lies in its methods.
Canvas Methods
Before talking about the Canvas Methods, one must be aware of the Canvas element's 2D Context. The 2D Context provides objects, methods, and properties to draw and manipulate graphics on a canvas drawing surface. In general terms, you could see the 2D context as simply a tool box with items you could use to draw on a canvas.
In order to draw shapes, draw texts, or images, a user must be conversant with the canvas methods available in JavaScript.
Drawing a line
In order to draw a straight line, the methods used would include.
- beginPath()
- moveTo(x,y)
- lineTo(x,y)
- stroke()
The beginPath() method initializes the start of a new path(possible line/stroke/shape to be drawn).
The moveTo() method indicates the starting point of the path, while the lineTo() method indicates the end of the path. The stroke() method draws the line along the path.
<script>
var canvas = document.getElementById("myCanvas");
// Declaring an instance of the 2D context object and assigning it to a variable. The variable would have access to all the canvas methods available
var ctx = canvas.getContext("2d");
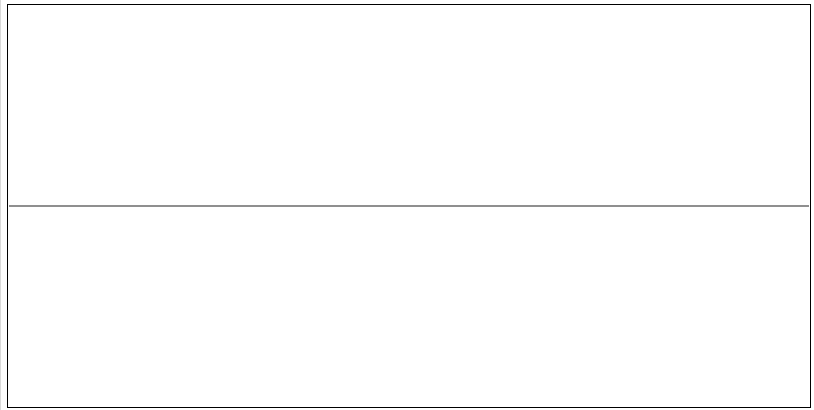
// Starting position of the line at 0px from the left and 250px from the top
ctx.moveTo(0,250);
// Ending position of the line at 1000px from the left and 250px from the top. It should be a straight line cutting the canvas in half horizontally.
ctx.lineTo(1000,250);
// Actually drawing the line
ctx.stroke();
</script>
The lineTo() method could also be used to extend a line, and the line can be colored by assigning a color to the property - strokeStyle. Let us make some additions to our code.
<script>
var canvas = document.getElementById("myCanvas");
// Declaring an instance of the 2D context object and assigning it to a variable. The variable would have access to all the canvas methods available
var ctx = canvas.getContext("2d");
// Starting position of the line at 0px from the left and 250px from the top
ctx.moveTo(0,250);
// Ending position of the line at 1000px from the left and 250px from the top. It should be a straight line cutting the canvas in half horizontally.
ctx.lineTo(1000,250);
// Lets extend the line to the Top, and middle of the canvas
ctx.lineTo(500,0);
// Coloring the line
ctx.strokeStyle = "blue"
// Actually drawing the line
ctx.stroke();
</script>
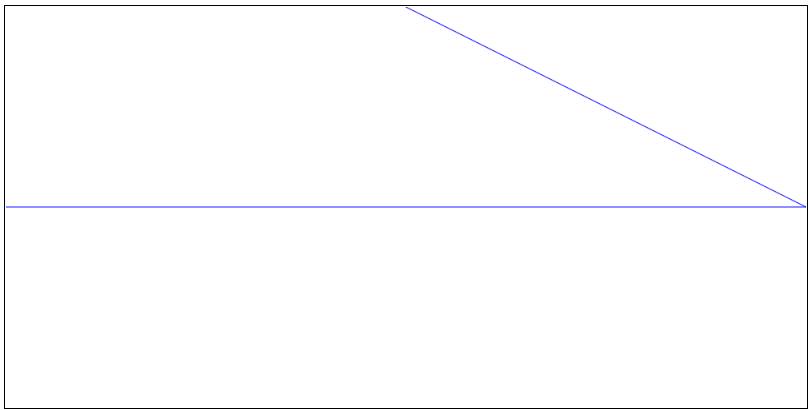
Looking at the above image, different possible images ( probably one in particular from your childhood 😶) would come to mind.
Drawing a rectangle
To draw a rectangle, we would be looking at an additional method. The rect() method. The rect() method takes 4 parameters x,y,width,height. x and y are the coordinates of the top left corner of the rectangle while the width and height represent the width and height of the rectangle respectively in pixels
<script>
var canvas = document.getElementById("myCanvas");
var ctx = canvas.getContext("2d");
ctx.beginPath();
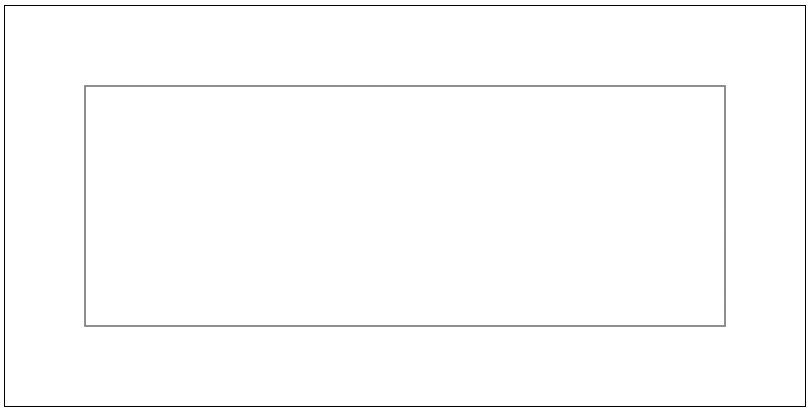
// The ctx.rect(x,y,width,height). In this case the top left corner is at 100px from the top and 100px from the left border of the canvas. The width of the rectangle is 800px while the height is 300px.
ctx.rect(100, 100, 800, 300);
// The stroke method completes the rectangle by joining the paths that make up a rectangle(remember opposite sides of a rectangle are equal in height)
ctx.stroke();
</script>
It is also possible to fill the rectangle with color. But for this, we would be looking at the following:
- fillStyle
- fill()
The fillStyle property is simply the color you want to fill the path with, in this case, the path is a rectangle.
The fill() method when called fills the path it is called in with the fillStyle(color) assigned.
<script>
var canvas = document.getElementById("myCanvas");
var ctx = canvas.getContext("2d");
ctx.beginPath();
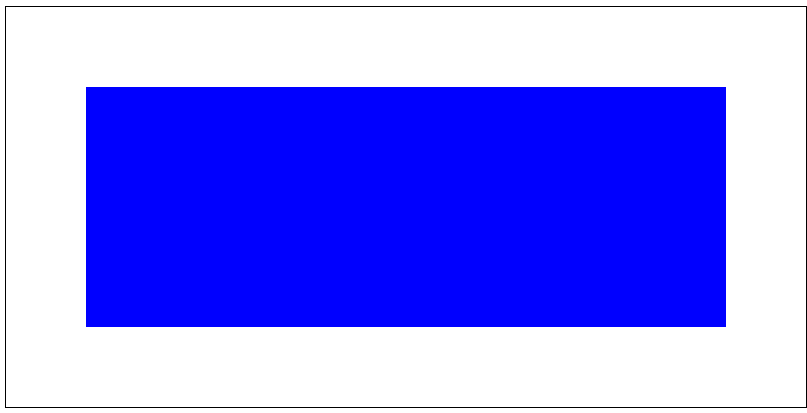
// Assigning a color to the fillStyle method determines that the rectangle would be filled with that color when it is drawn
ctx.fillStyle = "blue";
/ The ctx.rect(x,y,width,height). In this case the top left corner is at 100px from the top and 100px from the left border of the canvas. The width of the rectangle is 800px while the height is 300px.
ctx.rect(100, 100, 800, 300);
ctx.fill();
ctx.stroke();
</script>
Drawing Text on Canvas.
The canvas methods used with JavaScript gives so much power and flexibility in drawing text.
In other to draw text to canvas, we would be looking at a canvas property and a canvas method would be used. -
- font
- strokeText()
The font property would be assigned a string in the format "fontsize-in-px fontfamily". While assigning the font property a value is not necessary because of its default value, it is necessary to do so.
The strokeText() method takes 4 parameters
- The text to be drawn(written),
- The starting x coordinate
- The starting y coordinate
- The maximum length of text
In the example below, we would only use the first three parameters as the fourth parameter is optional
<script>
var canvas = document.getElementById("myCanvas");
var ctx = canvas.getContext("2d");
// Setting the fontsize to 50px and the font family to Arial
ctx.font = "50px Arial";
// Writing the text on the canvas with its start at exactly the center of the canvas. ctx.fill("text",x,y)
ctx.fillText("Canvas is awesome!", 500, 250);
</script>
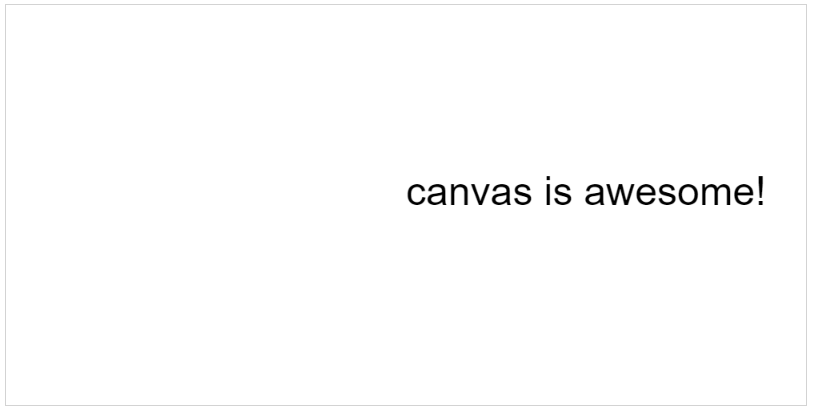
We have written the text on the canvas as shown above, but it looks weird. It is not centered.
To satisfy our innate appeal for symmetry, we would look at the canvas textAlign property. There are five possible property values, start, end, left, right, and center. We would only be demonstrating center in this article
<script>
var canvas = document.getElementById("myCanvas");
var ctx = canvas.getContext("2d");
// Setting the fontsize to 50px and the font family to Arial
ctx.font = "50px Arial";
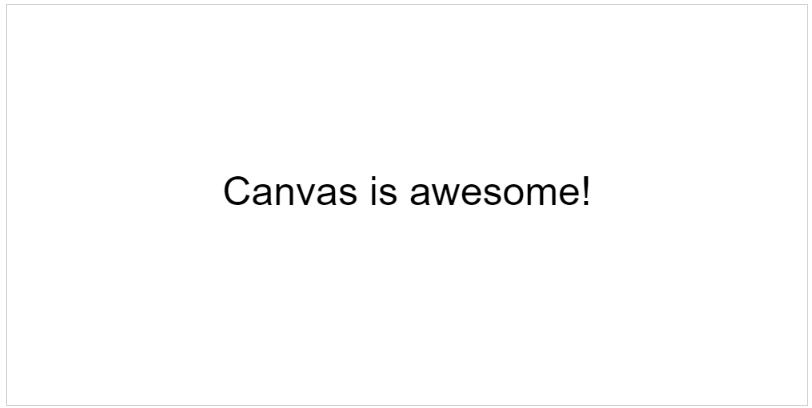
// Setting the textAlign property to "center" ensures that the text is written about the specified position meaning the text is written in such away that the specified position is in the center of the text.
ctx.textAlign = "center"
// Writing the text on the canvas with its start at exactly the center of the canvas.
ctx.fillText("Canvas is awesome!", 500, 250);
</script>
Drawing a house
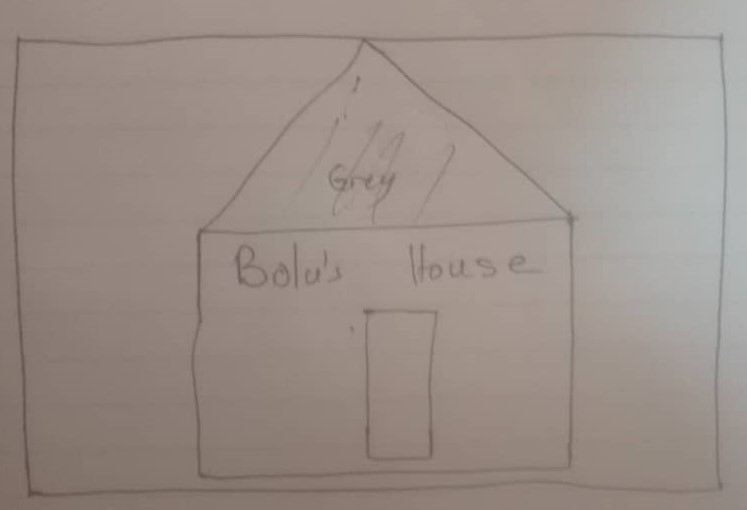
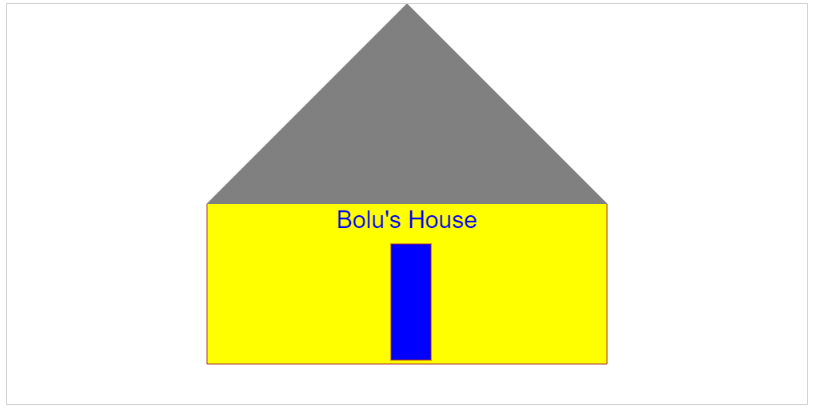
In the first example, it is possible that one of the possible images that came to mind was a simple stick house. In this section we would be combining all the various methods and properties we've discussed so far to draw a simple Canvas stick house.
The house would have a triangular roof grey in color, a yellow body with a rectangular blue door. The inscription "Bolu's House" would be below the roof, above the door. Like this:
<script>
var canvas = document.getElementById("myCanvas");
var ctx = canvas.getContext("2d");
// Initialize path that would be used to create the roof
ctx.beginPath();
// The path starts at this points
ctx.moveTo(250,250);
// The path moves to this point the line drawn would be the base of the roof and the top of the body
ctx.lineTo(750,250);
// The path moves to this point which would be the top of the roof. It lies on the center of the horizontal length of the canvas.
ctx.lineTo(500,0);
// the path moves back to the starting point.
ctx.lineTo(250,250);
// setting the fillStyle(color) to gray
ctx.fillStyle="gray";
ctx.fill();
// setting the strokestyle to gray too
ctx.strokeStyle = "gray"
// Drawing the line to trace the path
ctx.stroke();

// initializing a new path to draw the body.
ctx.beginPath();
// path through which the body would be drawn
ctx.moveTo(250,250);
ctx.lineTo(250,450);
ctx.lineTo(750,450);
ctx.lineTo(750,250);
// Setting the color of the body to yellow
ctx.fillStyle="yellow"
// Filling the path of the body with yellow
ctx.fill()
// Setting the color of the body lines(stroke) to brown
ctx.strokeStyle = "brown"

// Drawing the body
ctx.stroke();

// Initializing a new path for the door
ctx.beginPath();
// describing the rectangle which would represent the door. Starting at point (480,300) 50px wide and 145px high
ctx.rect(480,300,50,145)
// Setting the fill style to blue
ctx.fillStyle="blue"
// filling the path
ctx.fill()
ctx.stroke();
// setting the font properties
ctx.font = "30px Arial";
// Setting the text align property
ctx.textAlign = "center";
// filling the path formed by the text. The current fill sytle property is blue set on the rectangle, there fore the text would also be blue
ctx.fillText("Bolu's House!", 500, 280);
</script>
Notice the lack of windows and the overall terrible color combination? Yeah, I have never been much of an artist. You could do better.
The list of methods and properties covered in this article only begins to scratch the surface of what is achievable with the HTML canvas. Further text manipulation is possible, animations, image manipulations and many more. You could read more on the HTML canvas at w3schools.com. With that said, I do hope this article was able to open you up to the world of possibilities made available by the HTML canvas. Do like, Share and leave a comment.

